zabbix 3.0离线安装手册
一.环境介绍
操作系统:CentOS-7-x86_64-Minimal-1511.iso 最小化安装,语言选择英文 iso 下载地址:http://mirrors.163.com/centos/7.2.1511/isos/x86_64/CentOS-7-x86_64-Minimal-1511.iso zabbix:zabbix 3.0.2 rpm 包下载地址:https://dl.cactifans.com/zabbix/mysql.tar.gz https://dl.cactifans.com/zabbix/rpm.tar.gz 安装方式:rpm 包安装
二.安装依赖包
由于使用离线安装方式,因此通过 rpm 包安装所有依赖包。
1.设置基本环境
关闭 selinux
vi /etc/sysconfig/selinux
把
SELINUX=enforcing
改为
SELINUX=disabled
保存并退出,执行
setenforce 0
设置好并重启服务器
2.安装数据库
centos7 采用 mariadb 数据库(mysql 分支) 把mysql.tar.gz 上传到服务器,并解压
tar zxvf mysql.tar.gz
cd mysql
rpm -Uvh mariadb-libs-5.5.47-1.el7_2.x86_64.rpm
升级默认的 mariadb 客户端包 安装 mariadb
rpm -ivh mariadb-5.5.47-1.el7_2.x86_64.rpm \
mariadb-server-5.5.47-1.el7_2.x86_64.rpm \
perl-5.16.3-286.el7.x86_64.rpm \
perl-Carp-1.26-244.el7.noarch.rpm \
perl-Compress-Raw-Bzip2-2.061-3.el7.x86_64.rpm \
perl-Compress-Raw-Zlib-2.061-4.el7.x86_64.rpm \
perl-constant-1.27-2.el7.noarch.rpm \
perl-Data-Dumper-2.145-3.el7.x86_64.rpm \
perl-DBD-MySQL-4.023-5.el7.x86_64.rpm \
perl-DBI-1.627-4.el7.x86_64.rpm \
perl-Encode-2.51-7.el7.x86_64.rpm \
perl-Exporter-5.68-3.el7.noarch.rpm \
perl-File-Path-2.09-2.el7.noarch.rpm \
perl-File-Temp-0.23.01-3.el7.noarch.rpm \
perl-Filter-1.49-3.el7.x86_64.rpm \
perl-Getopt-Long-2.40-2.el7.noarch.rpm \
perl-HTTP-Tiny-0.033-3.el7.noarch.rpm \
perl-IO-Compress-2.061-2.el7.noarch.rpm \
perl-libs-5.16.3-286.el7.x86_64.rpm \
perl-macros-5.16.3-286.el7.x86_64.rpm \
perl-Net-Daemon-0.48-5.el7.noarch.rpm \
perl-parent-0.225-244.el7.noarch.rpm \
perl-PathTools-3.40-5.el7.x86_64.rpm \
perl-PlRPC-0.2020-14.el7.noarch.rpm \
perl-Pod-Escapes-1.04-286.el7.noarch.rpm \
perl-podlators-2.5.1-3.el7.noarch.rpm \
perl-Pod-Perldoc-3.20-4.el7.noarch.rpm \
perl-Pod-Simple-3.28-4.el7.noarch.rpm \
perl-Pod-Usage-1.63-3.el7.noarch.rpm \
perl-Scalar-List-Utils-1.27-248.el7.x86_64.rpm \
perl-Socket-2.010-3.el7.x86_64.rpm \
perl-Storable-2.45-3.el7.x86_64.rpm \
perl-Text-ParseWords-3.29-4.el7.noarch.rpm \
perl-threads-1.87-4.el7.x86_64.rpm \
perl-threads-shared-1.43-6.el7.x86_64.rpm \
perl-Time-HiRes-1.9725-3.el7.x86_64.rpm \
perl-Time-Local-1.2300-2.el7.noarch.rpm
注意是直接复制执行,就会安装 mariadb
3.设置 mariadb
设置开机启动
systemctl enable mariadb
修改数据库编码
vi /etc/my.cnf
在**[mysqld]** 段加入如下
character-set-server=utf8
max_connections = 10000
完整的 my.cnf 内容如下
[mysqld]
datadir=/var/lib/mysql
socket=/var/lib/mysql/mysql.sock
# Disabling symbolic-links is recommended to prevent assorted security risks
symbolic-links=0
# Settings user and group are ignored when systemd is used.
# If you need to run mysqld under a different user or group,
# customize your systemd unit file for mariadb according to the
# instructions in http://fedoraproject.org/wiki/Systemd
character-set-server=utf8
max_connections = 10000
[mysqld_safe]
log-error=/var/log/mariadb/mariadb.log
pid-file=/var/run/mariadb/mariadb.pid

#
# include all files from the config directory
#
!includedir /etc/my.cnf.d
启动 mariadb 数据库
systemctl start mariadb
设置 mariadb,执行
mysql_secure_installation
这里可以设置 root 密码,我们设置为123456 ,具体过程
[root@localhost mysql]# mysql_secure_installation
/usr/bin/mysql_secure_installation: line 379: find_mysql_client: command not found

NOTE: RUNNING ALL PARTS OF THIS SCRIPT IS RECOMMENDED FOR ALL MariaDB
      SERVERS IN PRODUCTION USE!  PLEASE READ EACH STEP CAREFULLY!

In order to log into MariaDB to secure it, we'll need the current
password for the root user.  If you've just installed MariaDB, and
you haven't set the root password yet, the password will be blank,
so you should just press enter here.

Enter current password for root (enter for none):
OK, successfully used password, moving on...

Setting the root password ensures that nobody can log into the MariaDB
root user without the proper authorisation.

Set root password? [Y/n] y
New password:
Re-enter new password:
Password updated successfully!
Reloading privilege tables..
 ... Success!


By default, a MariaDB installation has an anonymous user, allowing anyone
to log into MariaDB without having to have a user account created for
them.  This is intended only for testing, and to make the installation
go a bit smoother.  You should remove them before moving into a
production environment.

Remove anonymous users? [Y/n] y
 ... Success!

Normally, root should only be allowed to connect from 'localhost'.  This
ensures that someone cannot guess at the root password from the network.

Disallow root login remotely? [Y/n] y
 ... Success!

By default, MariaDB comes with a database named 'test' that anyone can
access.  This is also intended only for testing, and should be removed
before moving into a production environment.

Remove test database and access to it? [Y/n] y
 - Dropping test database...
 ... Success!
 - Removing privileges on test database...
 ... Success!

Reloading the privilege tables will ensure that all changes made so far
will take effect immediately.

Reload privilege tables now? [Y/n] y
 ... Success!

Cleaning up...

All done!  If you've completed all of the above steps, your MariaDB
installation should now be secure.

Thanks for using MariaDB!
4.创建 zabbix 数据库
mysql -uroot -p123456
create database zabbix;
grant all on zabbix.* to zabbix@localhost identified by 'zabbixpwd123';
flush privileges;
exit;
这里我们创建了 zabbix 数据库,并且建立了一个用户zabbix,密码为zabbixpwd123,并把 zabbix 授权给 zabbix 用户
二.安装 zabbix
1.安装软件包
把 rpm.tar.gz 上传到服务器,并解压
tar zxvf rpm.tar.gz
cd rpm
rpm -ivh apr-1.4.8-3.el7.x86_64.rpm \
apr-util-1.5.2-6.el7.x86_64.rpm \
dejavu-fonts-common-2.33-6.el7.noarch.rpm \
dejavu-sans-fonts-2.33-6.el7.noarch.rpm \
fontpackages-filesystem-1.44-8.el7.noarch.rpm \
fping-3.10-1.el7.x86_64.rpm \
httpd-2.4.6-40.el7.centos.1.x86_64.rpm \
httpd-tools-2.4.6-40.el7.centos.1.x86_64.rpm \
iksemel-1.4-2.el7.centos.x86_64.rpm \
libjpeg-turbo-1.2.90-5.el7.x86_64.rpm \
libpng-1.5.13-7.el7_2.x86_64.rpm \
libtool-ltdl-2.4.2-21.el7_2.x86_64.rpm \
libX11-1.6.3-2.el7.x86_64.rpm \
libX11-common-1.6.3-2.el7.noarch.rpm \
libXau-1.0.8-2.1.el7.x86_64.rpm \
libxcb-1.11-4.el7.x86_64.rpm \
libXpm-3.5.11-3.el7.x86_64.rpm \
libxslt-1.1.28-5.el7.x86_64.rpm \
libzip-0.10.1-8.el7.x86_64.rpm \
mailcap-2.1.41-2.el7.noarch.rpm \
net-snmp-libs-5.7.2-24.el7_2.1.x86_64.rpm \
OpenIPMI-libs-2.0.19-11.el7.x86_64.rpm \
OpenIPMI-modalias-2.0.19-11.el7.x86_64.rpm \
php-5.4.16-36.1.el7_2.1.x86_64.rpm \
php-bcmath-5.4.16-36.1.el7_2.1.x86_64.rpm \
php-cli-5.4.16-36.1.el7_2.1.x86_64.rpm \
php-common-5.4.16-36.1.el7_2.1.x86_64.rpm \
php-gd-5.4.16-36.1.el7_2.1.x86_64.rpm \
php-ldap-5.4.16-36.1.el7_2.1.x86_64.rpm \
php-mbstring-5.4.16-36.1.el7_2.1.x86_64.rpm \
php-mysql-5.4.16-36.1.el7_2.1.x86_64.rpm \
php-pdo-5.4.16-36.1.el7_2.1.x86_64.rpm \
php-xml-5.4.16-36.1.el7_2.1.x86_64.rpm \
t1lib-5.1.2-14.el7.x86_64.rpm \
unixODBC-2.3.1-11.el7.x86_64.rpm \
zabbix-agent-3.0.2-1.el7.x86_64.rpm \
zabbix-server-mysql-3.0.2-1.el7.x86_64.rpm \
zabbix-web-3.0.2-1.el7.noarch.rpm \
zabbix-web-mysql-3.0.2-1.el7.noarch.rpm
启动 httpd
systemctl enable httpd
systemctl start httpd
设置 php.ini 参数
vi /etc/php.ini
修改如下参数,并保存
max_execution_time = 300
max_input_time = 300
post_max_size = 16M
date.timezone = Asia/Shanghai
设置好之后重启 httpd 服务
systemctl restart httpd
导入数据库
cd /usr/share/doc/zabbix-server-mysql-3.0.2
zcat create.sql.gz | mysql -uroot -p123456 zabbix
2.web 页面初始化
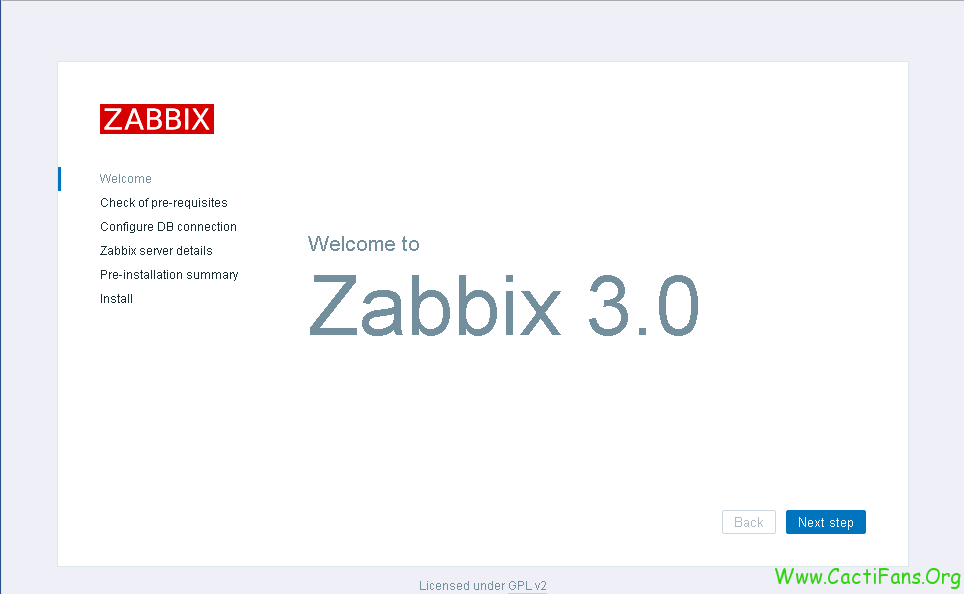
浏览器打开http://ip/zabbix (推荐使用 chrome 浏览器)就可以看到 zabbix 安装的 web 页面
点击 Next step
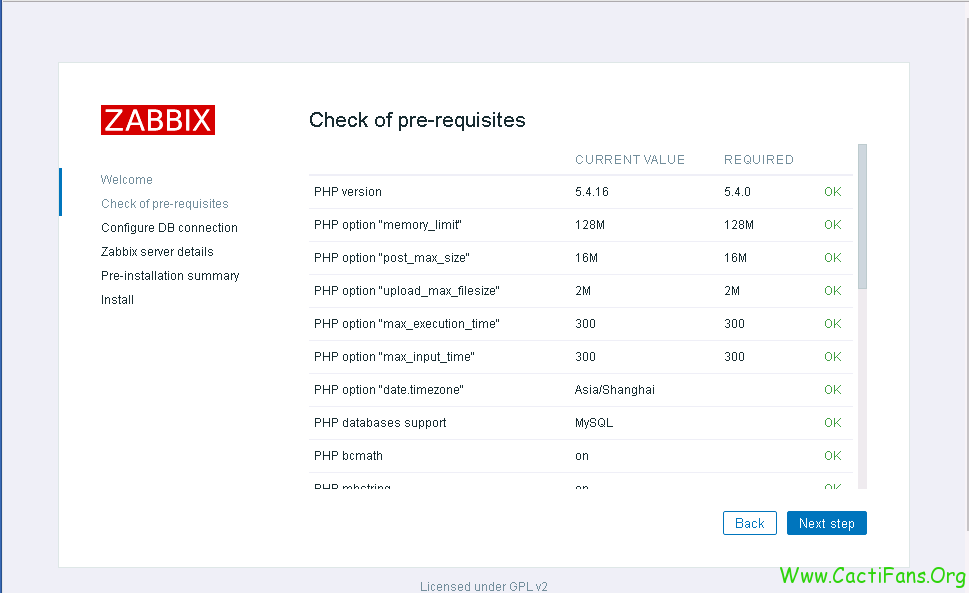
 检查每个选项是不是 ok,查看页面都是 ok,直接点 Next step
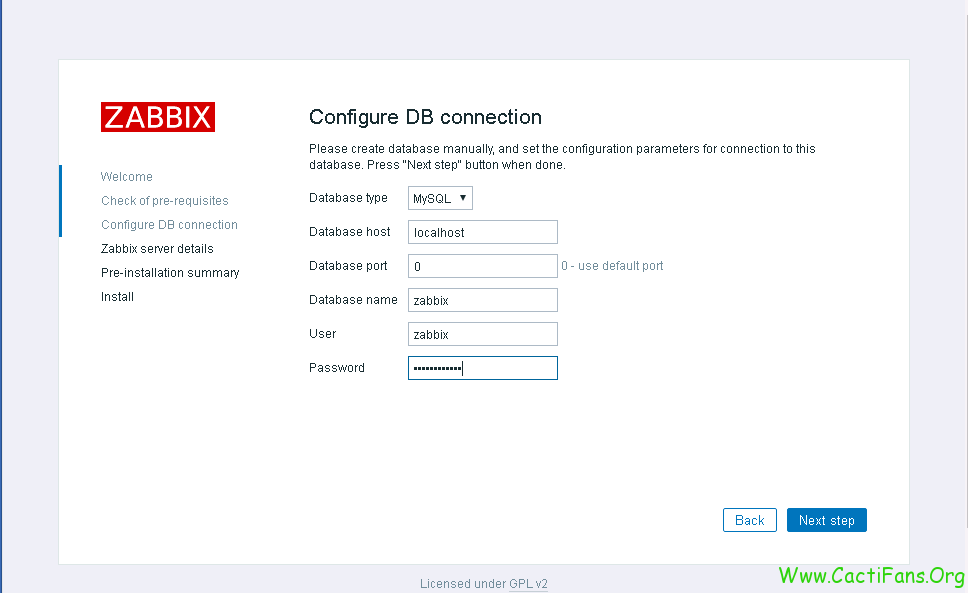
 输入 zabbix 数据库密码,别的都不用改(zabbix 数据库的密码为 zabbixpwd123,前面设置的)
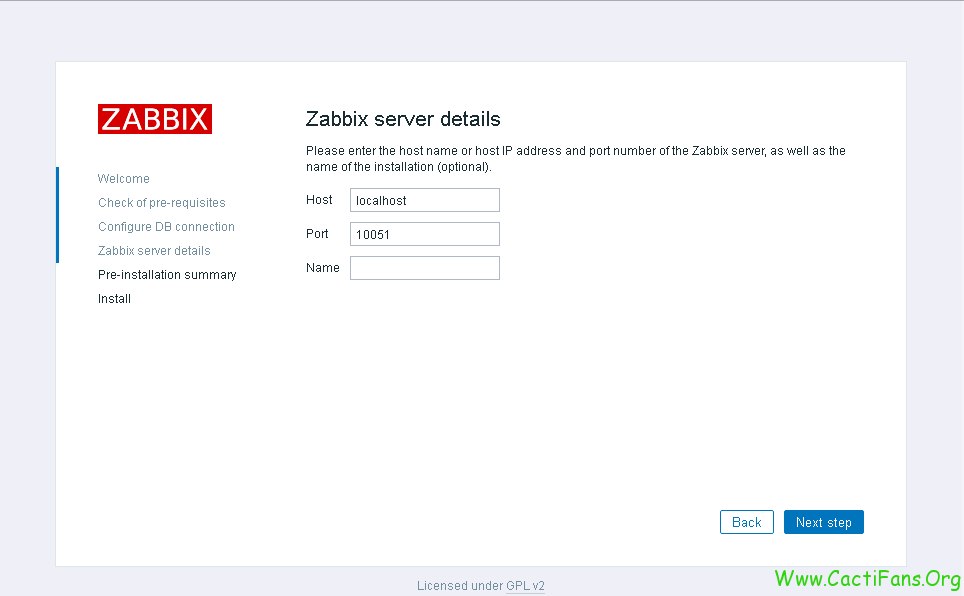
 直接点 Next step,不用修改默认就成
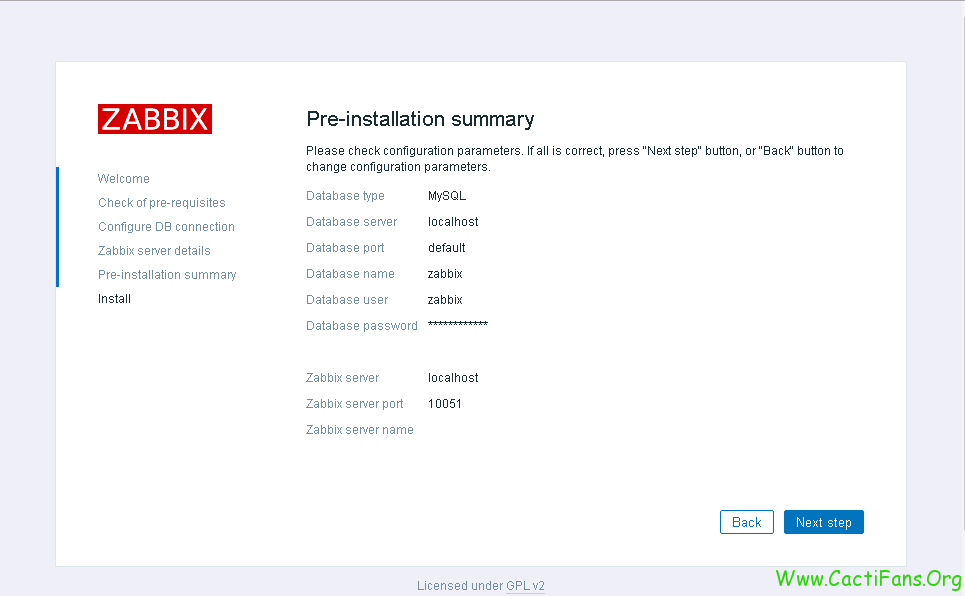
 这里概显示了设置,确认无误,直接点 Next step
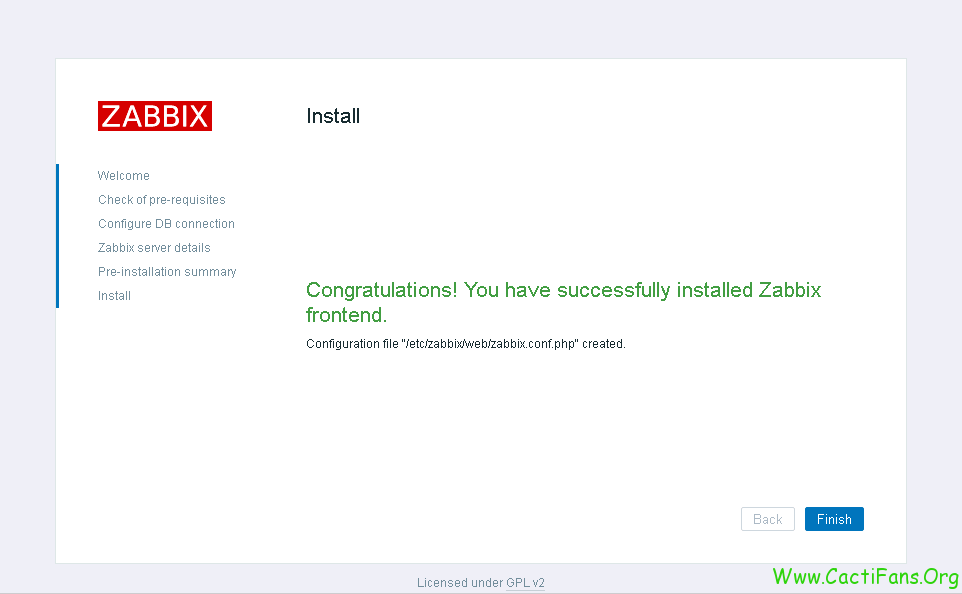
 点击 Finish 完成 web 页面初始化
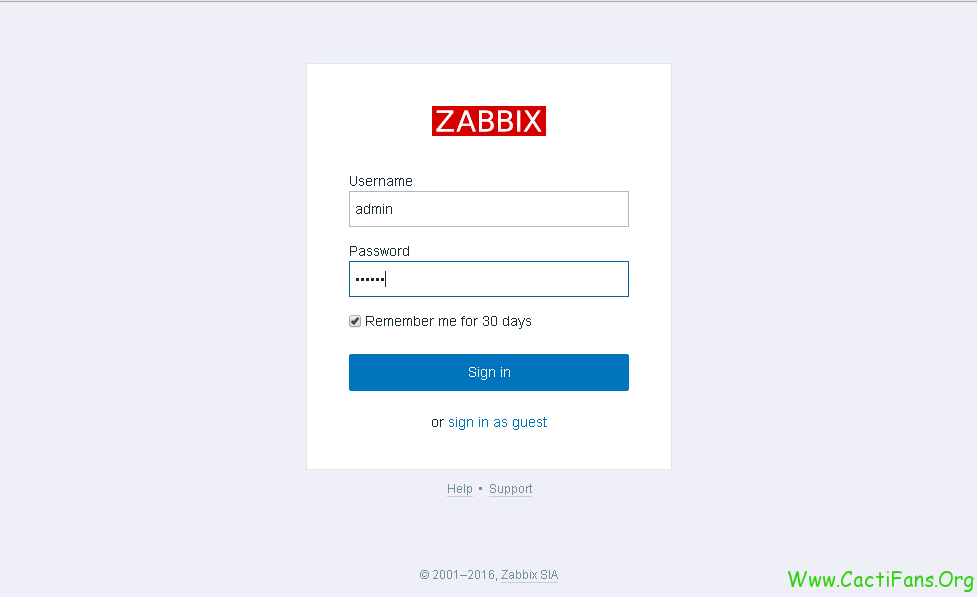
 登录 zabbix,默认的用户名为admin,密码为zabbix
3.zabbix 服务初始化
修改 zabbix server 配置文件
vi /etc/zabbix/zabbix_server.conf
修改以下选项
DBPassword=zabbixpwd123
启动 zabbix server,并设置开机启动
 systemctl start zabbix-server
 systemctl enable zabbix-server
启动 zabbix agent,并设置开机启动
systemctl start zabbix-agent
systemctl enable zabbix-agent
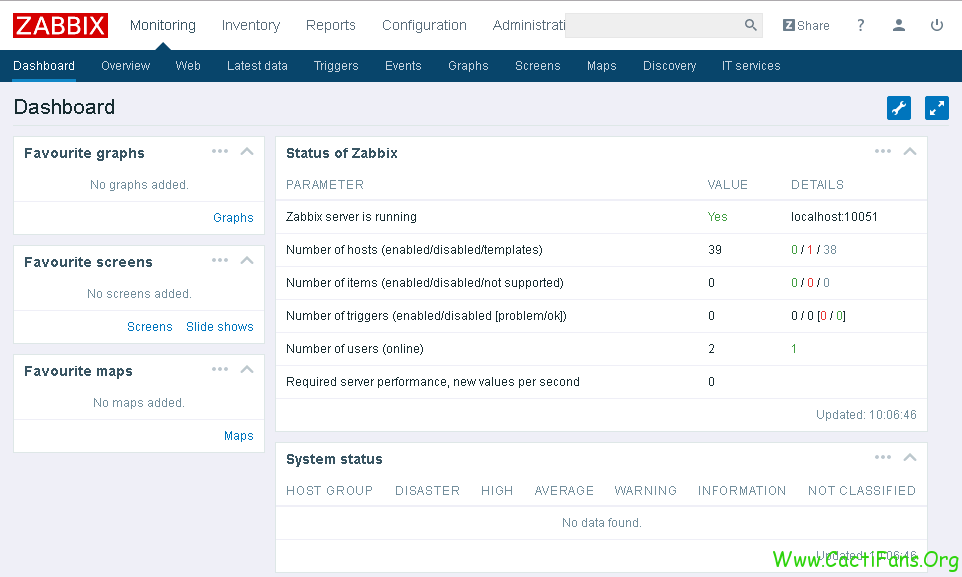
再次查看 zabbix web 页面,显示 zabbix server 已处于运行状态
 在 web 页面启用 zabbix server 自己的监控,依次点击 Congfiguration——>Hosts,点击 zabbix server 后面的 Disabled,启用 zabbix server 主机的自身监控
4.问题诊断
可通过命令查看 zabbix server 和 zabbix agent 的日志,查看错误,根据错误解决问题 zabbix server 日志
tail -f /var/log/zabbix/zabbix_server.log
zabbix agent 日志
tail -f /var/log/zabbix/zabbix_agentd.log
如果觉得我的文章对您有用,请关注我的公众号,有更多技术干货!

- Author: 当代张思德
- Link: https://blog.cactifans.com/2016/05/14/zabbix-3.0%E7%A6%BB%E7%BA%BF%E5%AE%89%E8%A3%85%E6%89%8B%E5%86%8C/
- License: This work is under a 知识共享署名-非商业性使用-禁止演绎 4.0 国际许可协议. Kindly fulfill the requirements of the aforementioned License when adapting or creating a derivative of this work.