Zabbix 5.0 LTS 版本安装
zabbix 5.0 版本于 5 月 11 日正式发布,是最新的 LTS(长期支持)版本,5.0 带来很多功能和特性,后面会陆续推出文章介绍,下面主要介绍下 5.0 版本的安装。
环境要求
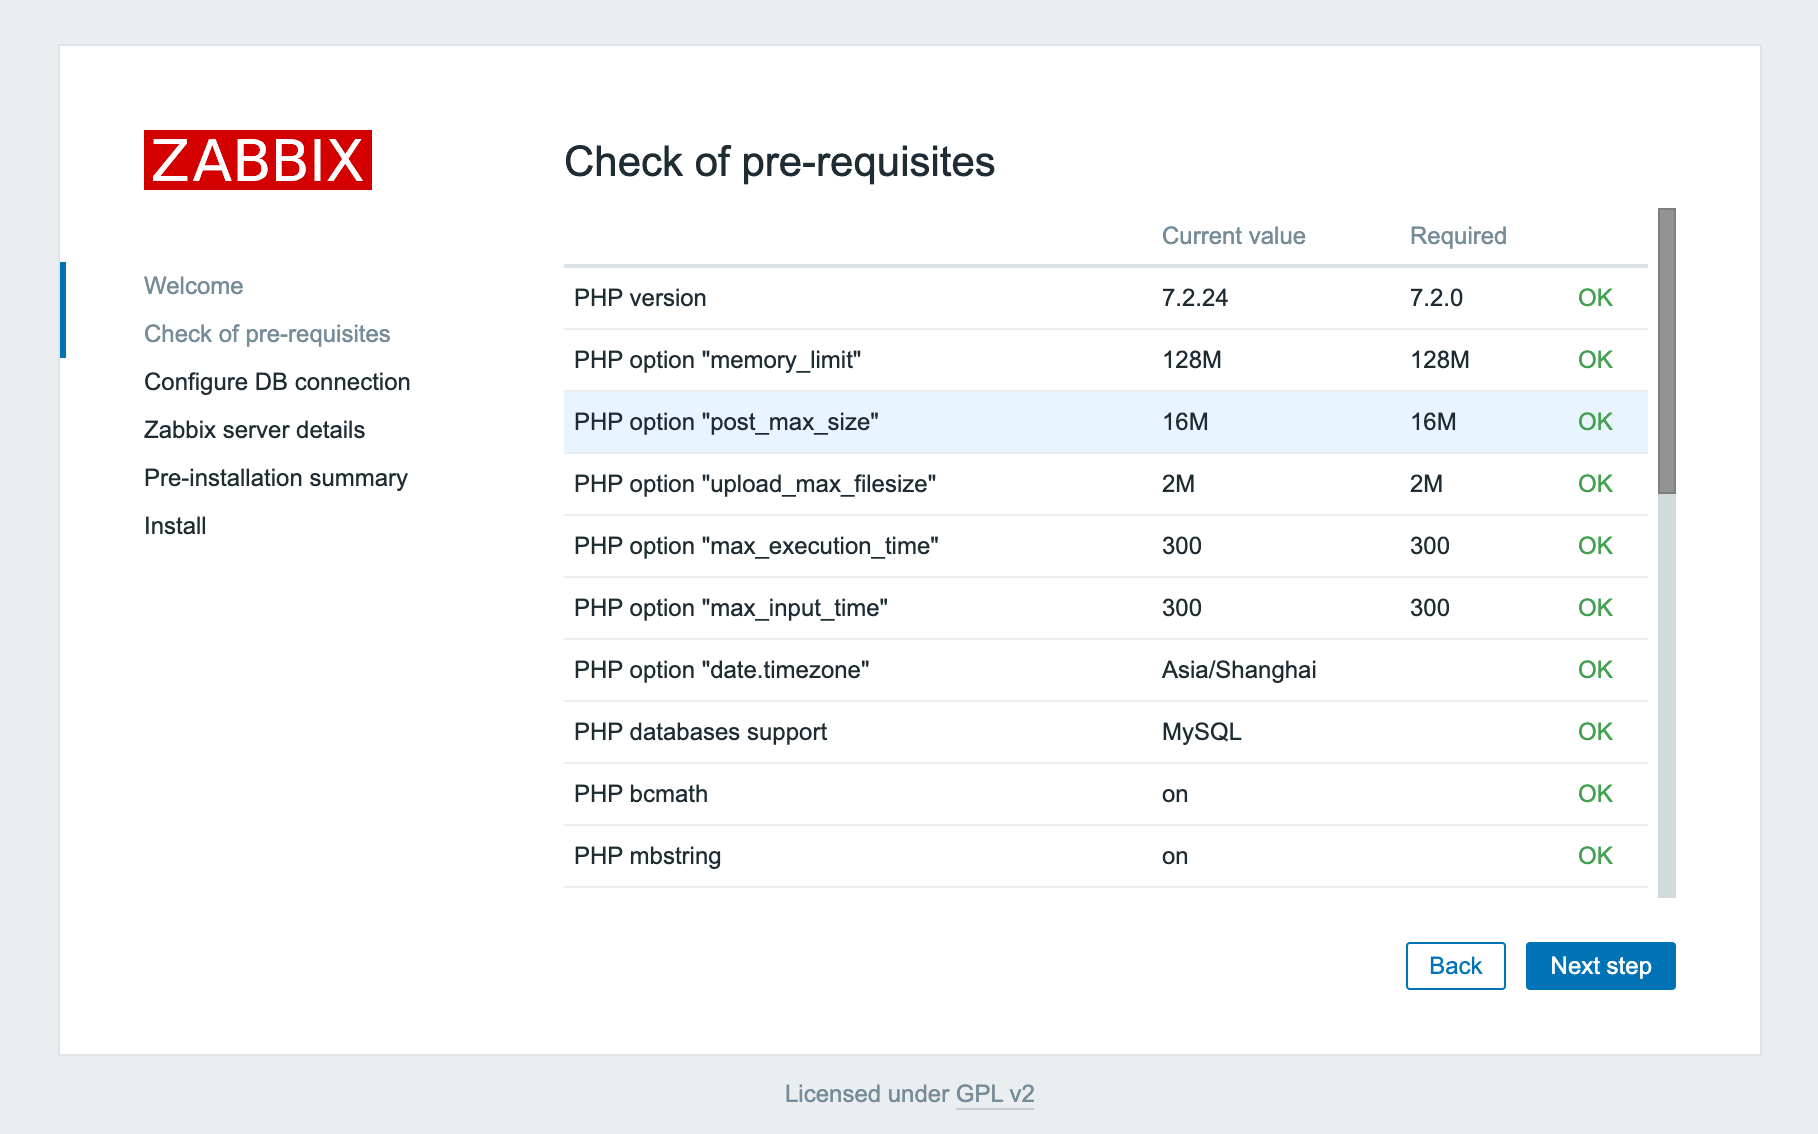
5.0 版本对基础环境的要求有大的变化,最大的就是对 php 版本的要求,最低要求 7.2.0 版本,对 php 扩展组件版本也有要求,详见官网文档https://www.zabbix.com/documentation/current/manual/installation/requirements
YUM 安装
基本环境
| 操作系统 | 安装方式 |
|---|---|
| CentOS Linux release 7.8.2003 (Core) x86_64 | 最小化安装 |
安装好操作系统后,关闭防火墙和 selinux 并重启
sed -i 's/SELINUX=enforcing/SELINUX=disabled/' /etc/selinux/config
systemctl disable --now firewalld
reboot
安装 zabbix rpm 源,鉴于国内网络情况,使用阿里云 zabbix 源
rpm -Uvh https://mirrors.aliyun.com/zabbix/zabbix/5.0/rhel/7/x86_64/zabbix-release-5.0-1.el7.noarch.rpm
sed -i 's#http://repo.zabbix.com#https://mirrors.aliyun.com/zabbix#' /etc/yum.repos.d/zabbix.repo
yum clean all
安装 zabbix server 和 agent
yum install zabbix-server-mysql zabbix-agent -y
安装 Software Collections,便于后续安装高版本的 php,默认 yum 安装的 php 版本为 5.4 过低
yum install centos-release-scl -y
启用 zabbix 前端源,修改/etc/yum.repos.d/zabbix.repo,将[zabbix-frontend]下的 enabled 改为 1
enabled=1
安装 zabbix 前端和相关环境
yum install zabbix-web-mysql-scl zabbix-apache-conf-scl -y
由于使用 yum 安装 zabbix,不自动依赖安装数据库,因此需要手动安装数据库,这里使用 yum 安装 centos7 默认的 mariadb 数据库
yum install mariadb-server -y
启动数据库,并配置开机自动启动
systemctl enable --now mariadb
使用以下命令初始化 mariadb 并配置 root 密码
mysql_secure_installation
使用 root 用户进入 mysql,并建立 zabbix 数据库,注意数据库编码
create database zabbix character set utf8 collate utf8_bin;
create user zabbix@localhost identified by 'password';
grant all privileges on zabbix.* to zabbix@localhost;
quit;
使用以下命令导入 zabbix 数据库,zabbix 数据库用户为 zabbix,密码为 password
zcat /usr/share/doc/zabbix-server-mysql*/create.sql.gz | mysql -uzabbix -p zabbix
修改 zabbix server 配置文件/etc/zabbix/zabbix_server.conf 里的数据库密码
DBPassword=password
修改 zabbix 的 php 配置文件 /etc/opt/rh/rh-php72/php-fpm.d/zabbix.conf 里的时区
php_value[date.timezone] = Asia/Shanghai
启动相关服务,并配置开机自动启动
systemctl restart zabbix-server zabbix-agent httpd rh-php72-php-fpm
systemctl enable zabbix-server zabbix-agent httpd rh-php72-php-fpm
使用浏览器访问http://ip/zabbix 即可访问 zabbix 的 web 页面
编译安装
基础环境配置
鉴于 5.0 对 php 等组件版本的要求,编译安装前建议参考版本,使用对应的版本进行安装,lnmp 环境采用 dnf 方式安装,使用编译安装 zabbix 基本环境
| 操作系统 | 安装方式 |
|---|---|
| CentOS Linux release 8.1.1911 (Core) x86_64 | 最小化安装 |
安装好操作系统后,关闭防火墙和 selinux 并重启
sed -i 's/SELINUX=enforcing/SELINUX=disabled/' /etc/selinux/config
systemctl disable --now firewalld
reboot
使用 dnf 安装 lnmp 等基础环境包
dnf install httpd php php-gd php-ldap php-mysqlnd php-json php-bcmath php-mbstring php-xml mysql mysql-server mysql-devel libevent-devel pcre-devel gcc gcc-c++ make libcurl-devel curl-* net-snmp* libxml2-* wget tar -y
useradd zabbix
启动相关组件并配置开机启动
systemctl enable --now httpd mysqld php-fpm
安装配置
安装好启动 http,mysql 等服务,并使用 mysql_secure_installation 命令初始化 mysql 下载 zabbix5.0 源码,解压并编译
cd /opt
wget https://cdn.zabbix.com/zabbix/sources/stable/5.0/zabbix-5.0.0.tar.gz
tar zxvf zabbix-5.0.0.tar.gz
cd zabbix-5.0.0
./configure --prefix=/usr/local/zabbix --enable-server --enable-agent \
--with-mysql  --with-net-snmp --with-libcurl --with-libxml2
make
make install
使用 mysql 的 root 用户登录 mysql 数据库,建立 zabbix 数据库用户等相关信息
create database zabbix character set utf8 collate utf8_bin;
create user zabbix@localhost identified by 'password';
grant all privileges on zabbix.* to zabbix@localhost;
quit
按照顺序,依次导入 sql
mysql -uzabbix -p zabbix < /opt/zabbix-5.0.0/database/mysql/schema.sql
mysql -uzabbix -p zabbix < /opt/zabbix-5.0.0/database/mysql/images.sql
mysql -uzabbix -p zabbix < /opt/zabbix-5.0.0/database/mysql/data.sql
修改 zabbix server 配置文件/usr/local/zabbix/etc/zabbix_server.conf,修改数据库密码
...
DBPassword=password
...
为 zabibx server 添加 systemd 启动文件
vi /lib/systemd/system/zabbix-server.service
内容如下
[Unit]
Description=Zabbix Server
After=syslog.target
After=network.target
After=mysql.service
After=mysqld.service
After=mariadb.service
After=postgresql.service

[Service]
Environment="CONFFILE=/usr/local/zabbix/etc/zabbix_server.conf"
EnvironmentFile=-/etc/sysconfig/zabbix-server
Type=forking
Restart=on-failure
PIDFile=/tmp/zabbix_server.pid
KillMode=control-group
ExecStart=/usr/local/zabbix/sbin/zabbix_server -c $CONFFILE
ExecStop=/bin/kill -SIGTERM $MAINPID
RestartSec=10s
TimeoutSec=0

[Install]
WantedBy=multi-user.target
为 zabbix agent 添加 systemd 启动文件
vi /lib/systemd/system/zabbix-agent.service
内容如下
[Unit]
Description=Zabbix Agent
After=syslog.target
After=network.target

[Service]
Environment="CONFFILE=/usr/local/zabbix/etc/zabbix_agentd.conf"
EnvironmentFile=-/etc/sysconfig/zabbix-agent
Type=forking
Restart=on-failure
PIDFile=/tmp/zabbix_agentd.pid
KillMode=control-group
ExecStart=/usr/local/zabbix/sbin/zabbix_agentd -c $CONFFILE
ExecStop=/bin/kill -SIGTERM $MAINPID
RestartSec=10s
User=zabbix
Group=zabbix

[Install]
WantedBy=multi-user.target
启动 zabbix server 和 zabbix agent,并配置开机启动
systemctl enable --now zabbix-server
systemctl enable --now zabbix-agent
前端安装
拷贝 zabbix 前端文件到 apache 默认 web 目录
cp -r /opt/zabbix-5.0.0/ui/* /var/www/html/
chown -R apache:apache /var/www/html/
配置 php 参数
sed -i 's#post_max_size = 8M#post_max_size = 16M#' /etc/php.ini
sed -i 's#max_execution_time = 30#max_execution_time = 300#' /etc/php.ini
sed -i 's#max_input_time = 60#max_input_time = 300#' /etc/php.ini
sed -i 's#;date.timezone =#date.timezone = Asia/Shanghai#' /etc/php.ini
systemctl restart php-fpm
配置后使用浏览器访问http://ip/ 就可以访问 zabbix 页面了
WEB 初始化
编译或者 yum 安装好之后,使用浏览器访问 web
 检查各个组件配置是否正常
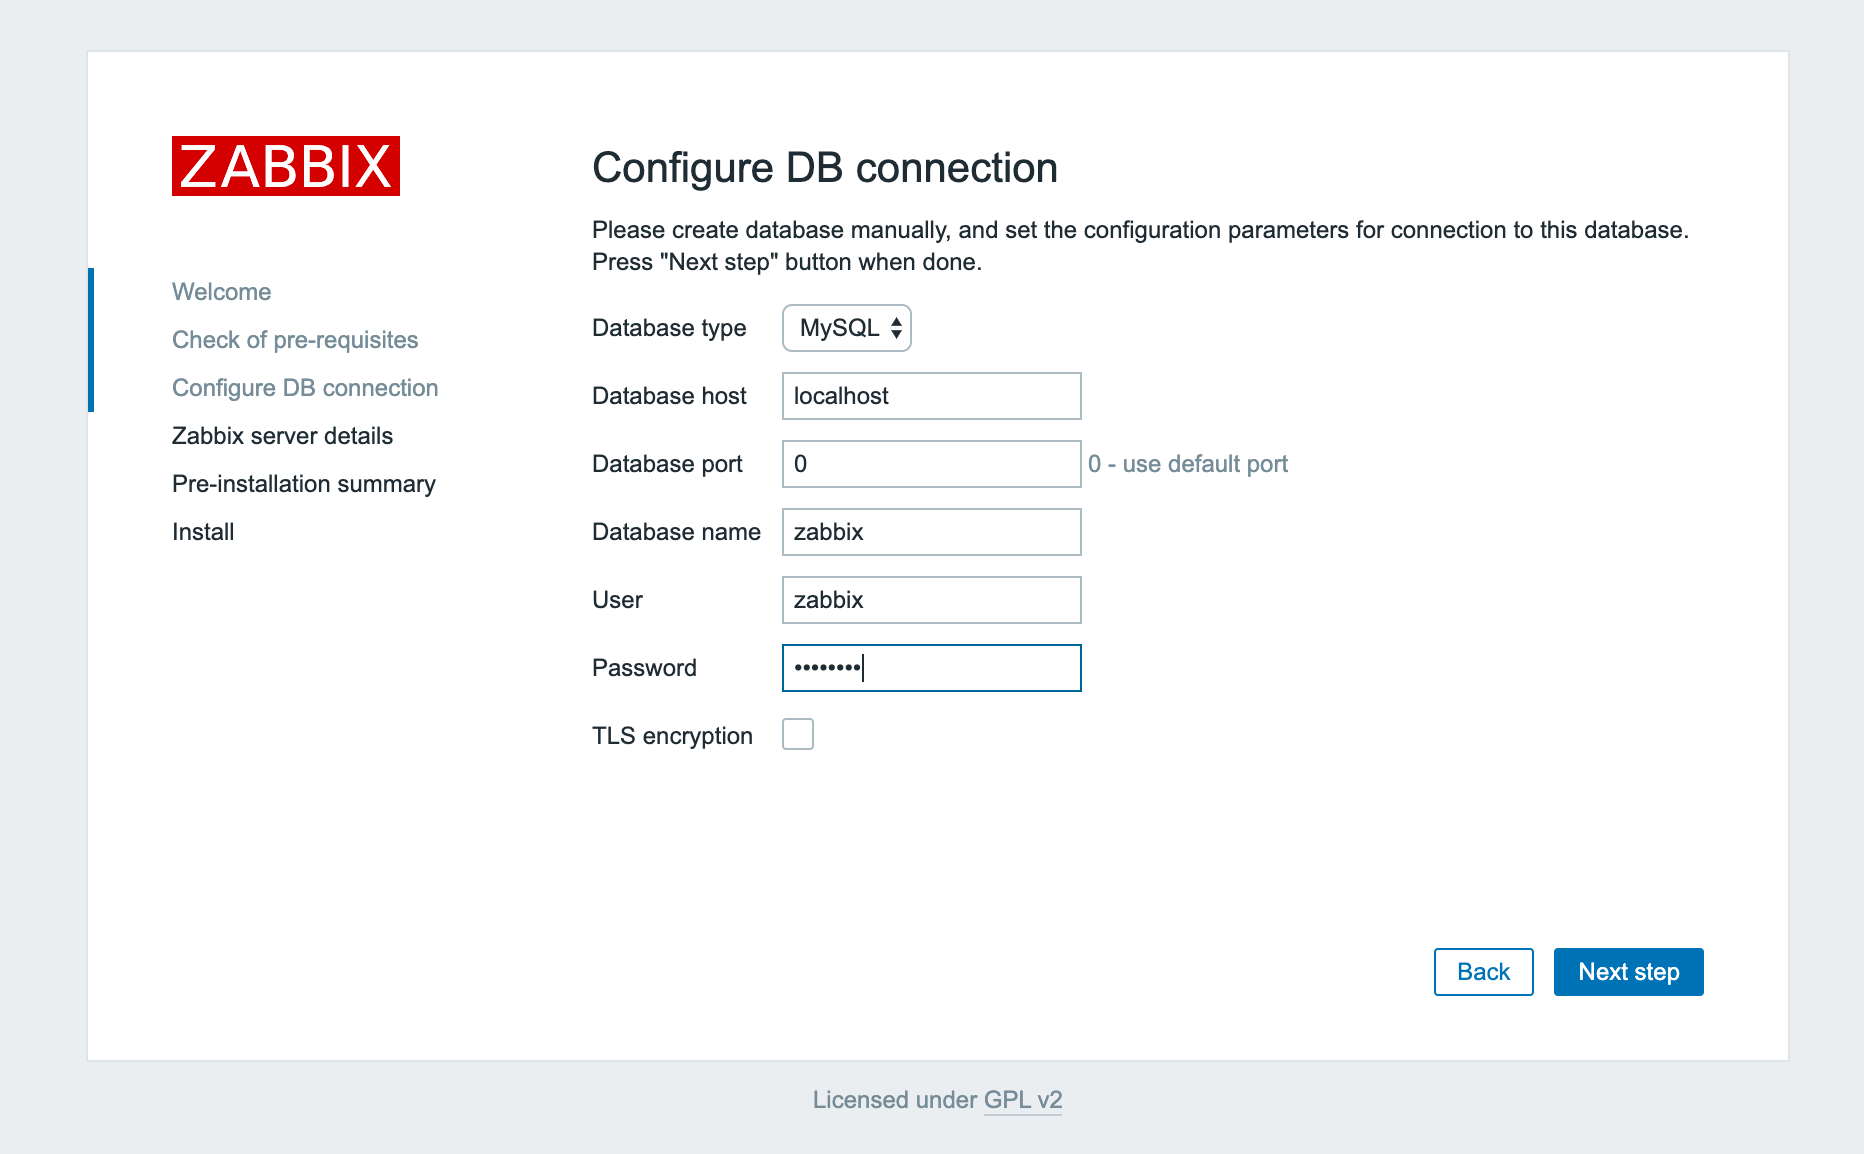
 输入配置数据库 zabbix 用户的密码
 下一步
下一步
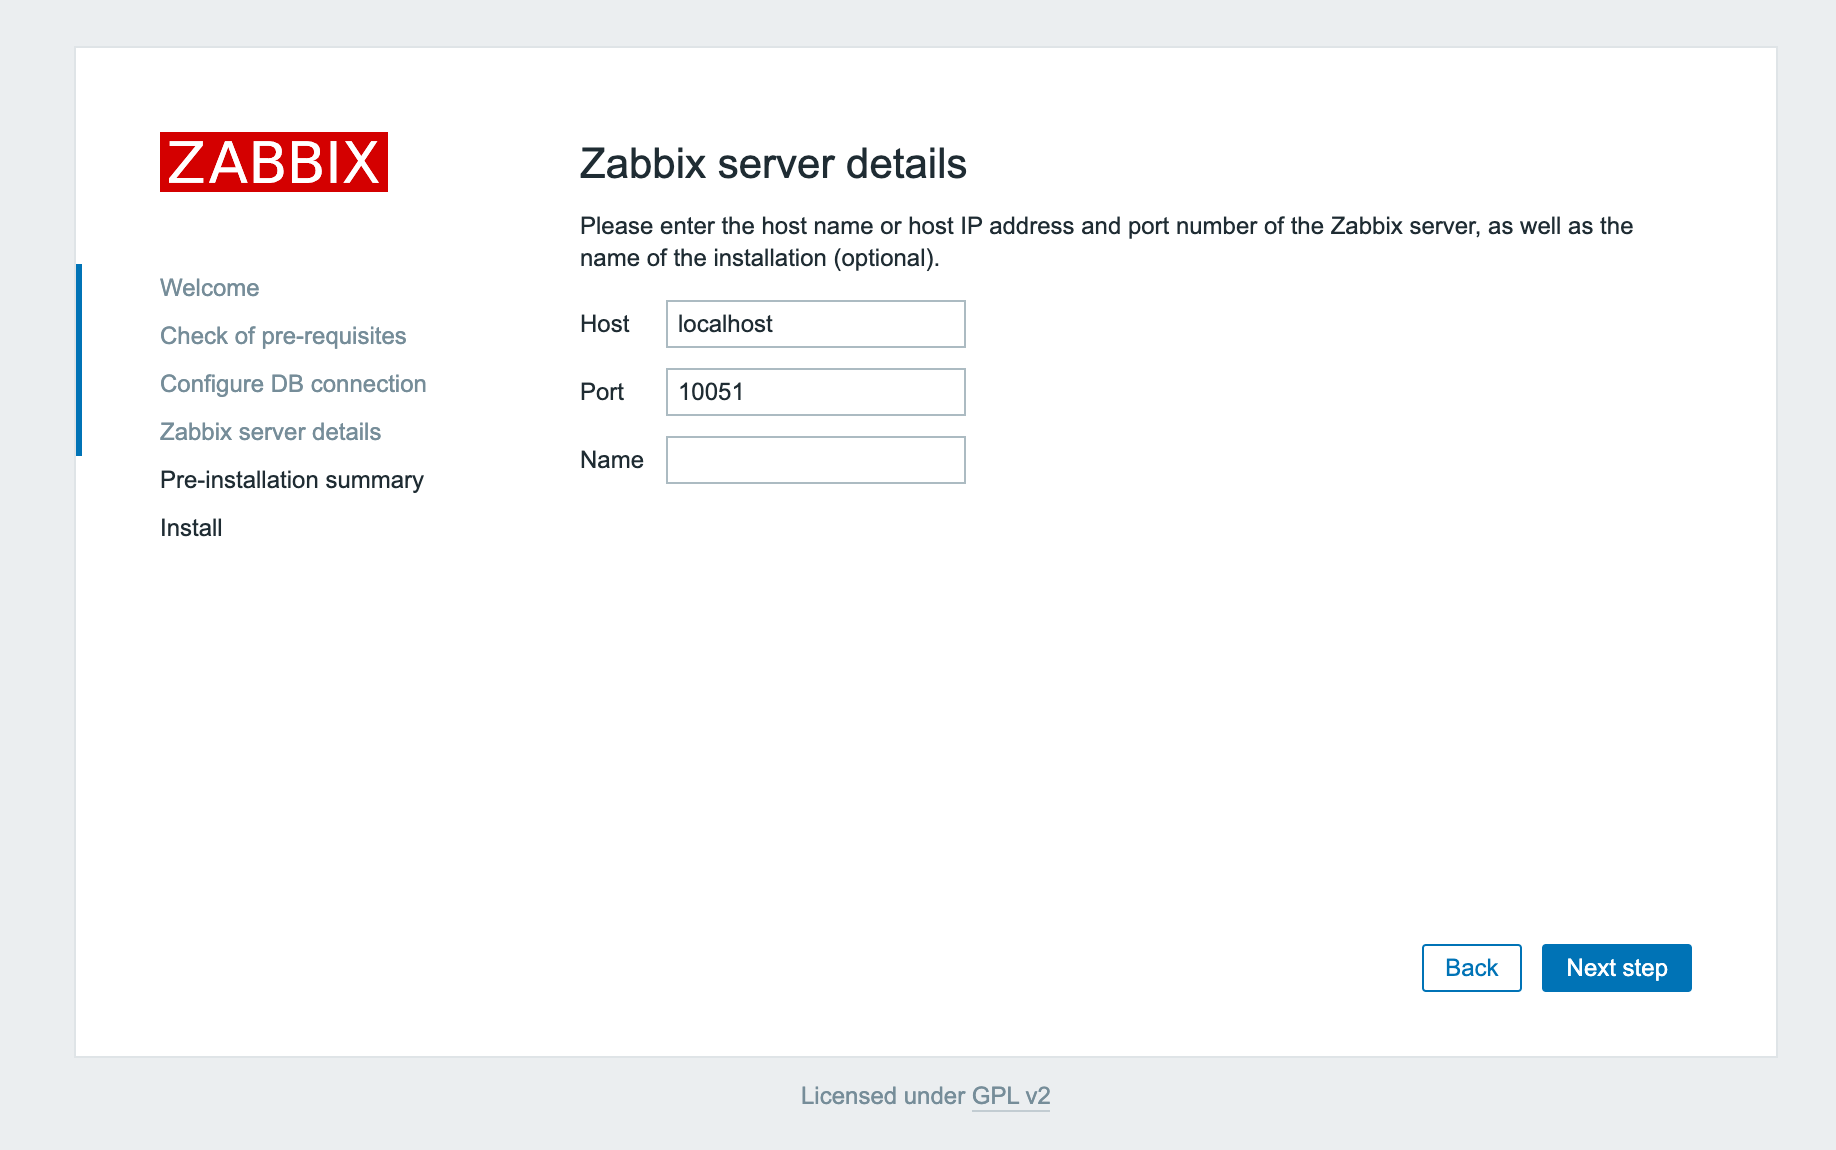 下一步
下一步
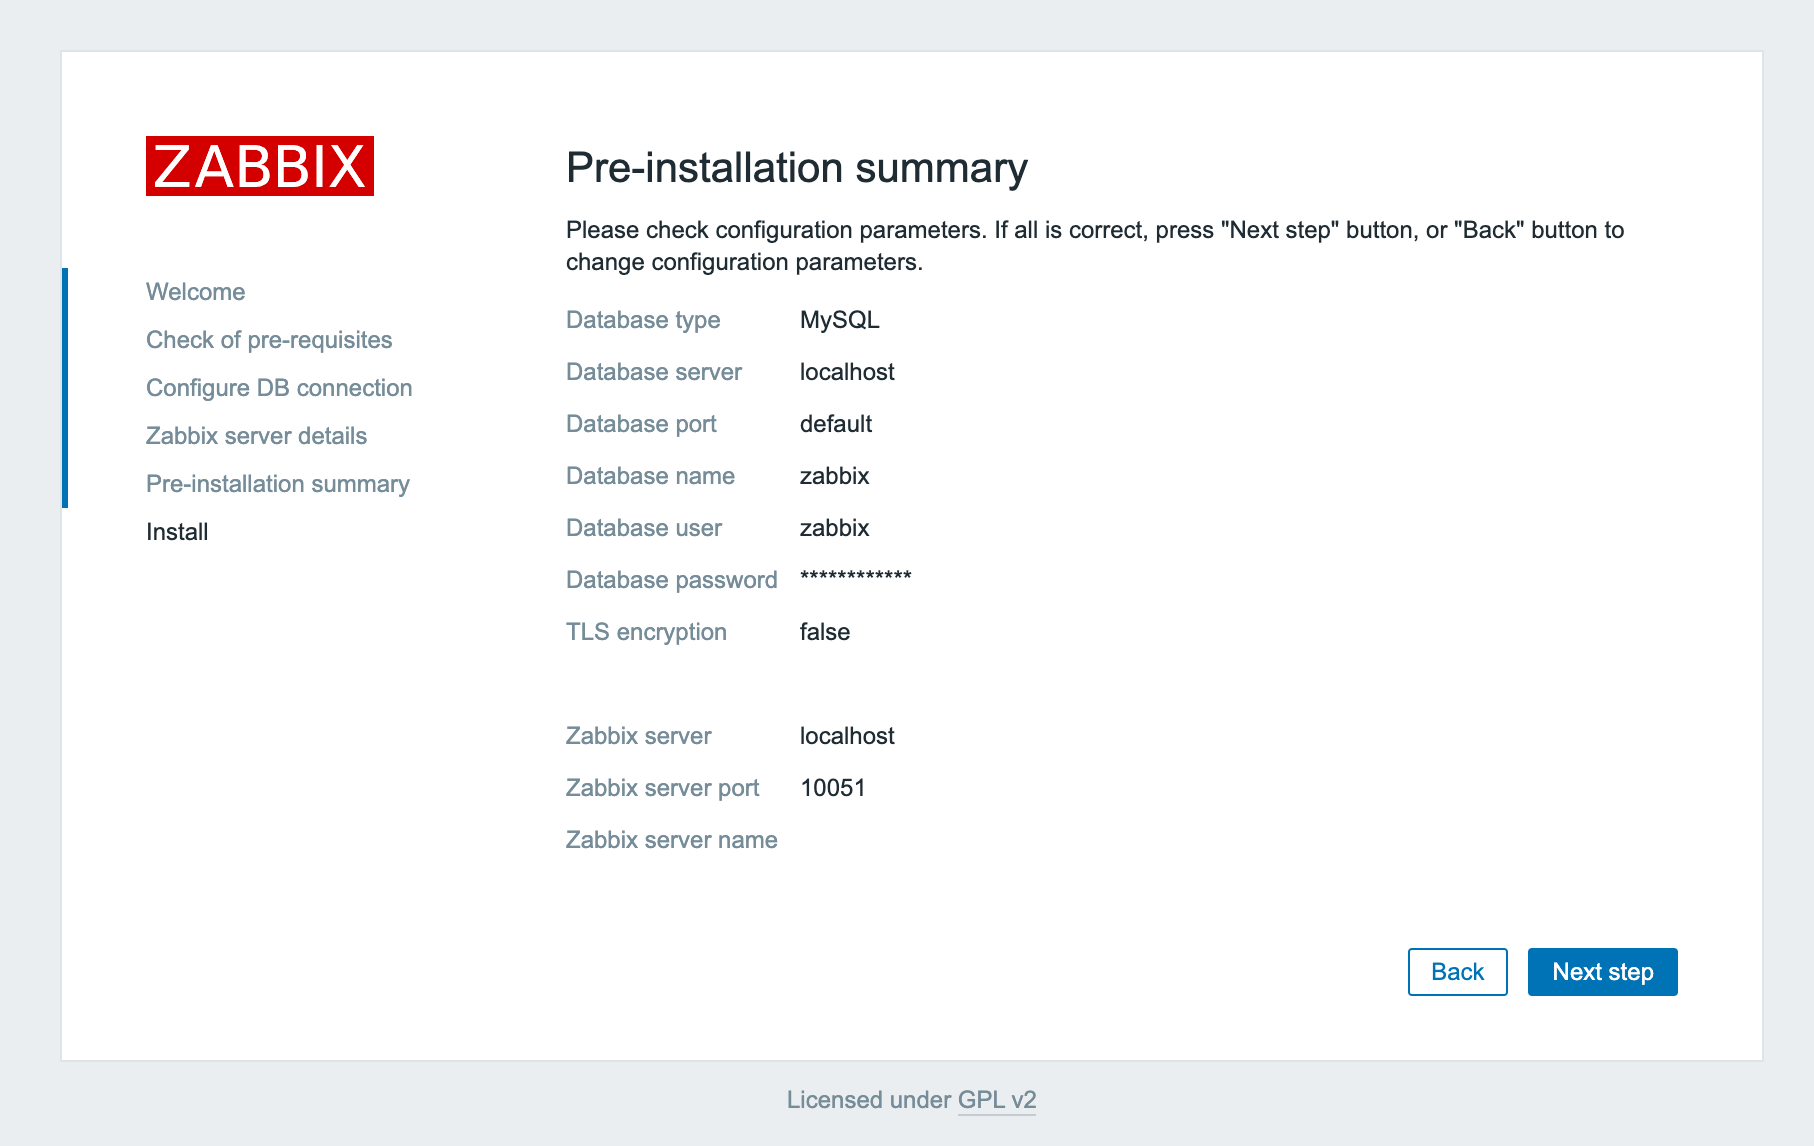 下一步
下一步
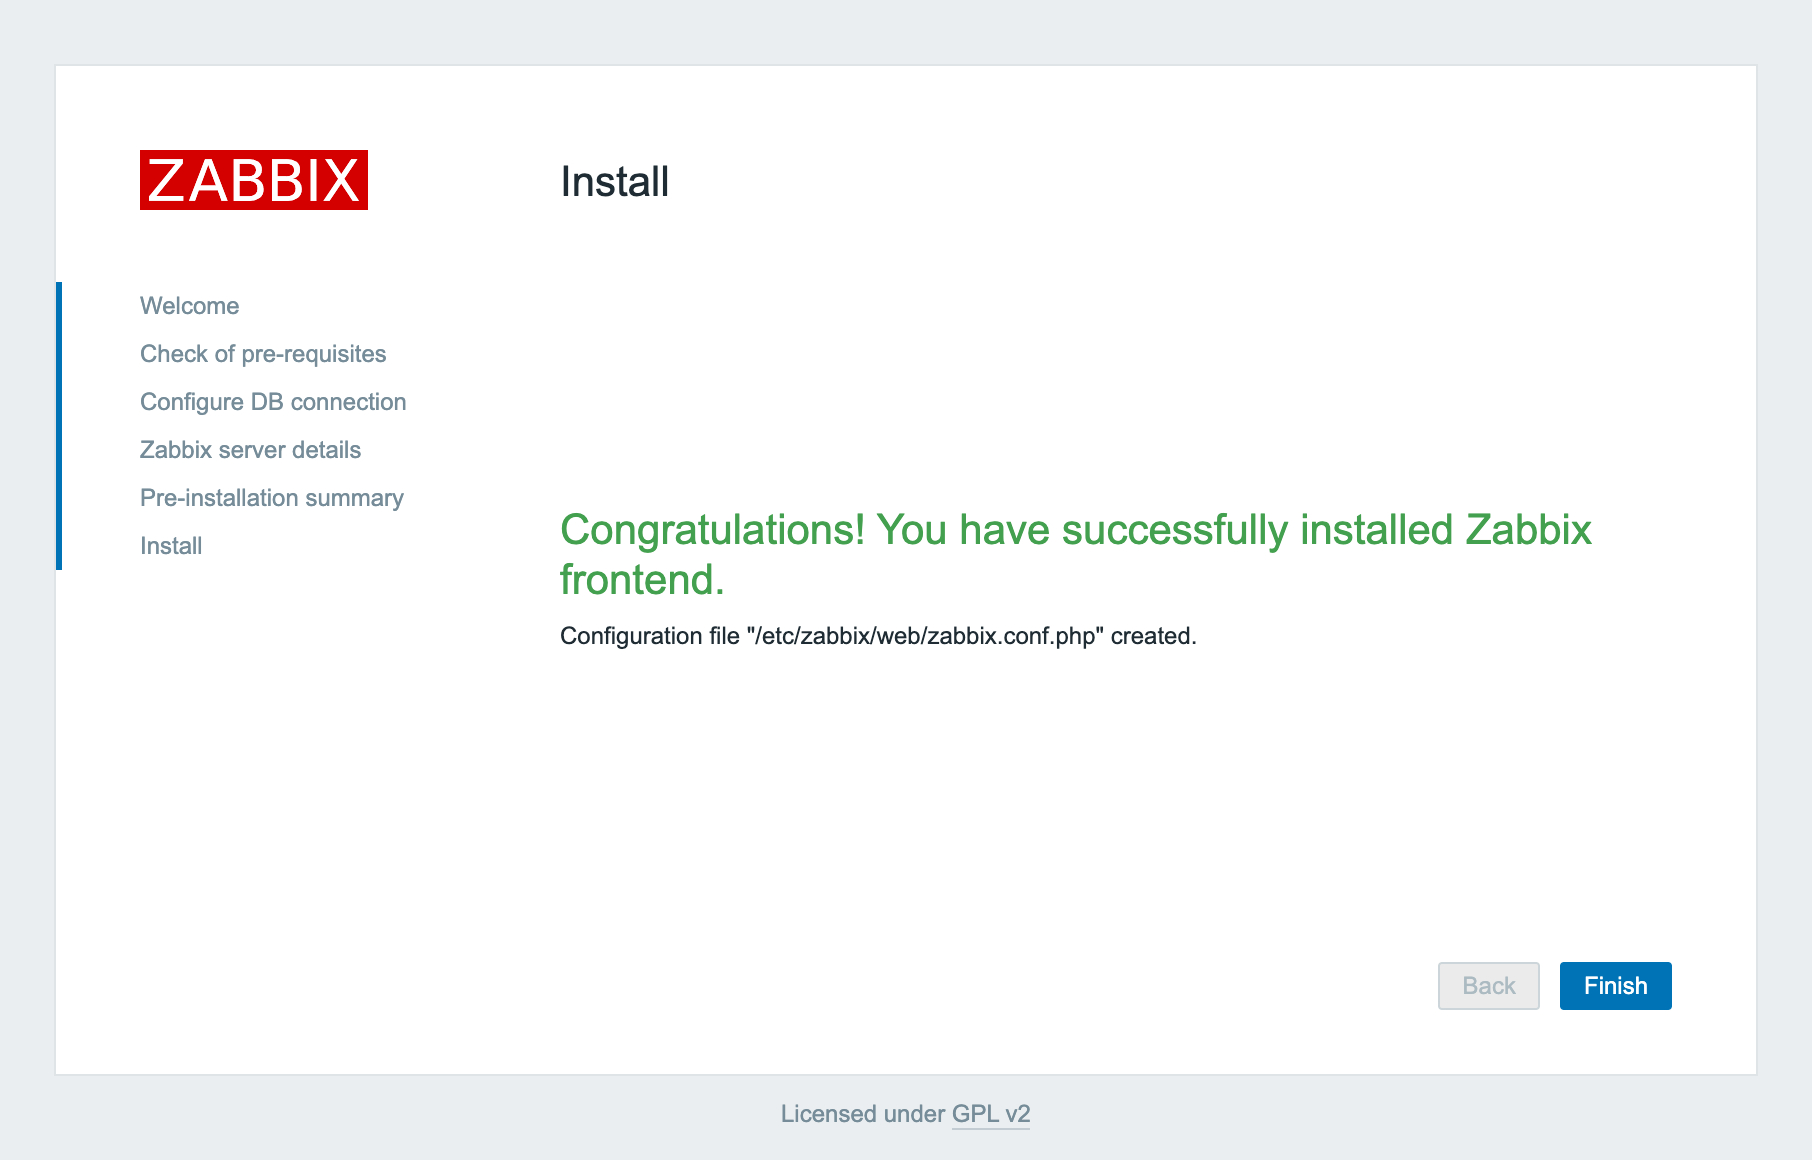 登录账号为 Admin,密码:zabbix
 首页
首页
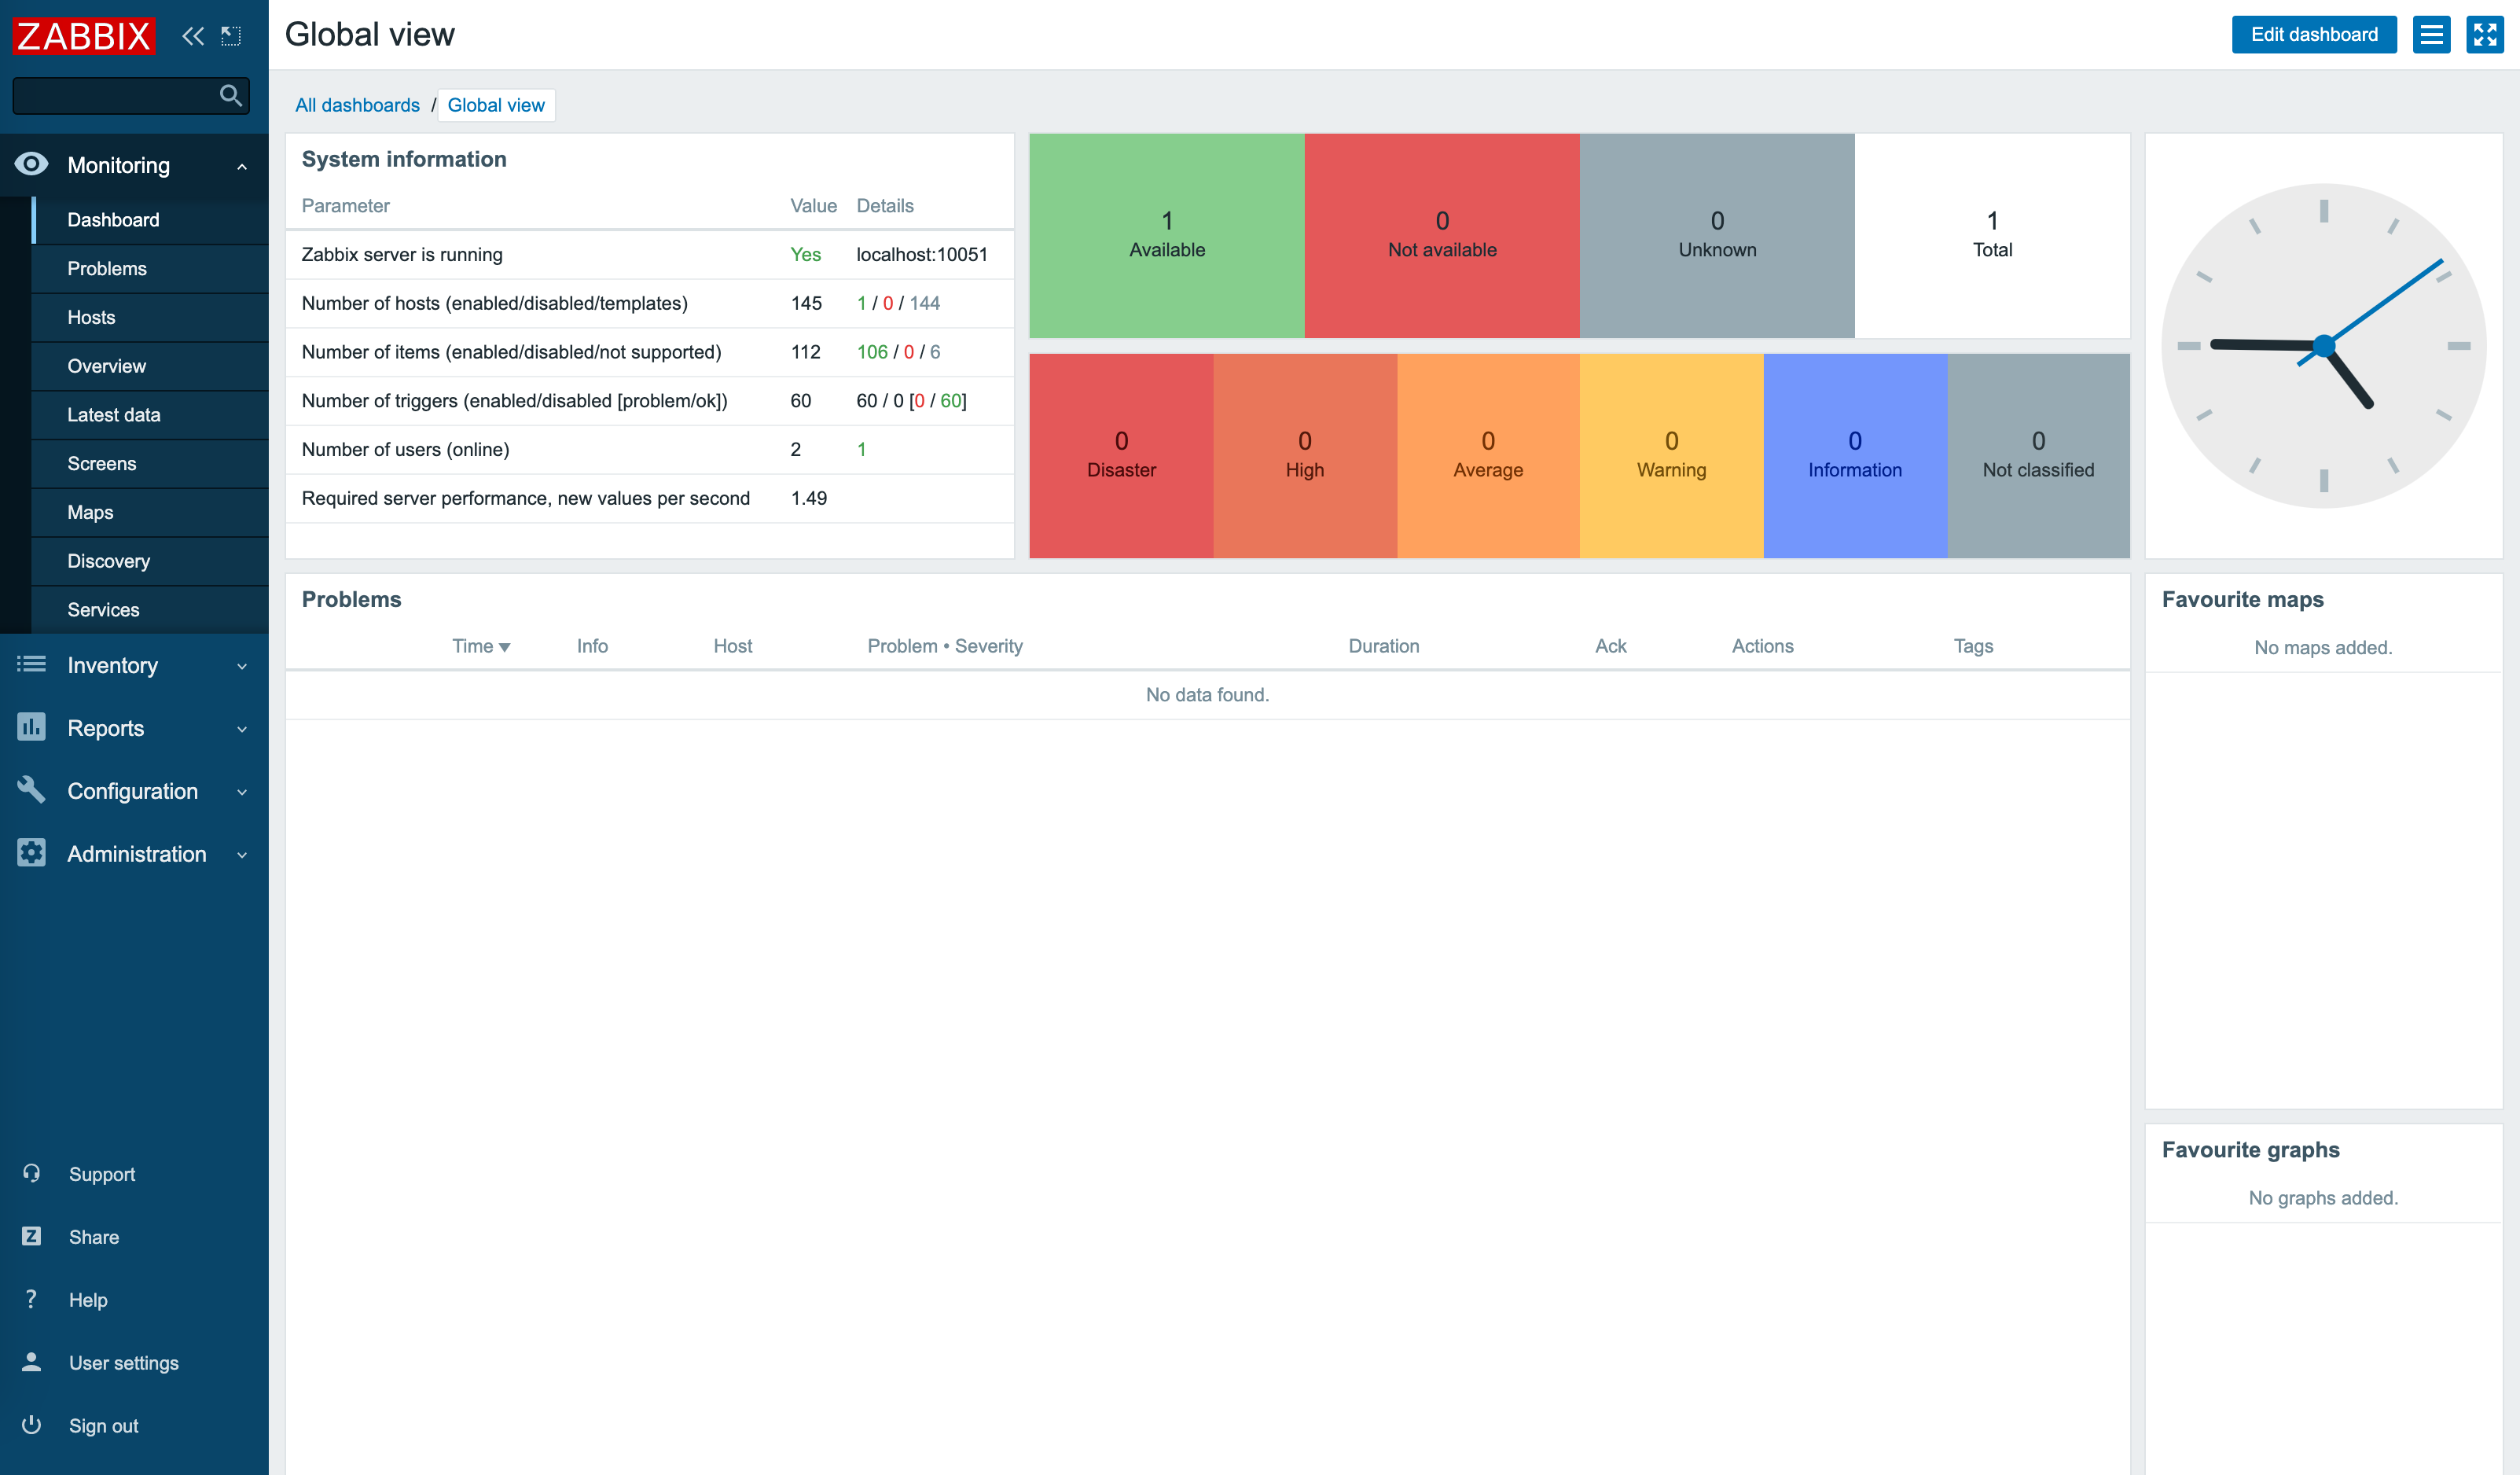 完成页面初始化。
- Author: 当代张思德
- Link: https://blog.cactifans.com/2020/05/17/Zabbix-5.0-LTS-%E7%89%88%E6%9C%AC%E5%AE%89%E8%A3%85/
- License: This work is under a 知识共享署名-非商业性使用-禁止演绎 4.0 国际许可协议. Kindly fulfill the requirements of the aforementioned License when adapting or creating a derivative of this work.
